This post may contain Affiliate Links. Please see my Disclaimer for more details.
These Red Velvet Cupcakes are moist, tender, and balanced with the right amount of sweetness from the vanilla buttercream. Your friend who eats gluten won't taste the difference.
If you love cupcakes, make sure to try out my Lemon Cupcakes with Cream Cheese Icing and Orange Strawberry Cupcakes with Mascarpone Icing. Plus, if you're looking for a beautiful-tasting cake, here's my Red Velvet Cake recipe.
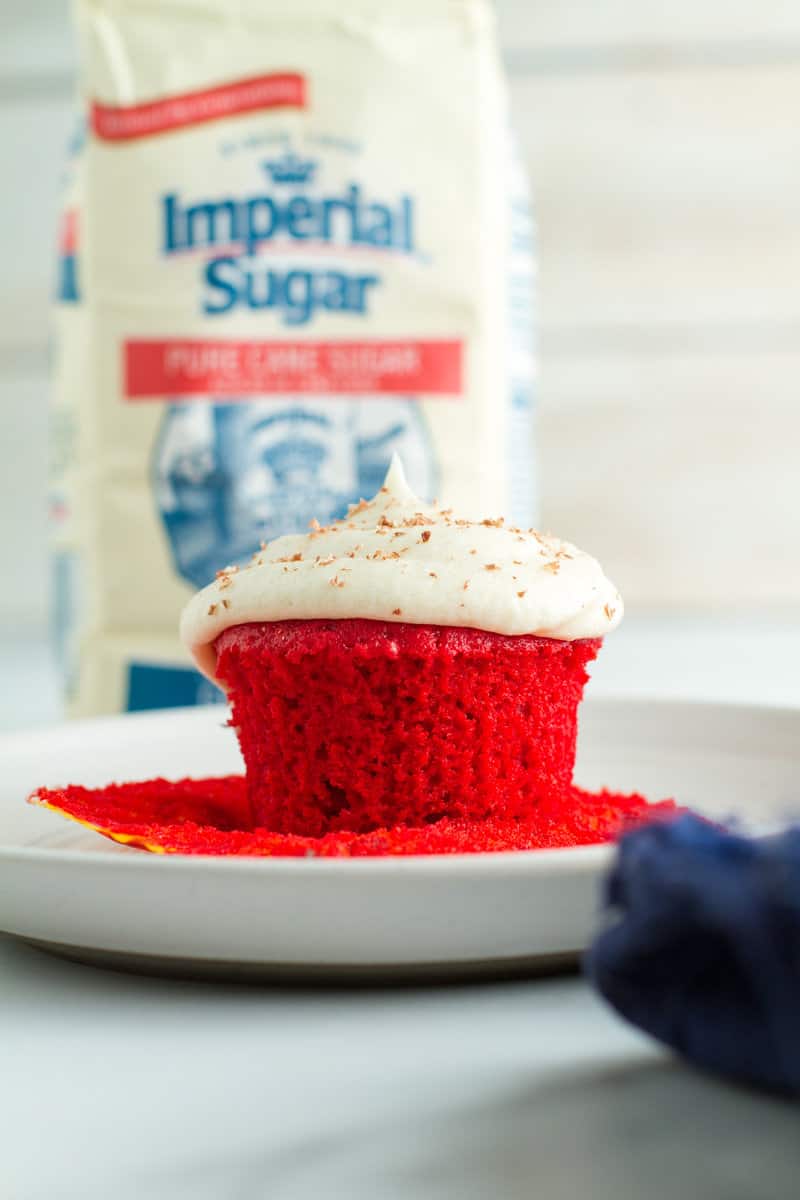
The only reason I'm doing a gluten-free recipe is because my wife decided to go gluten-free on me out of the blue. I had to find out what I was signing up for because I know I like for her to share whatever she's eating.
So I went to the store, purchased some gluten-free flour, and whipped up this recipe, and I was impressed that I didn't even notice the difference. The recipe below will reflect how delicious gluten-free desserts can be if you make them with a little TLC (Tender, Love, and Care). I chose not to go with the delicious cream cheese frosting for this red velvet recipe because everyone does it, and I don't mind being a little different.
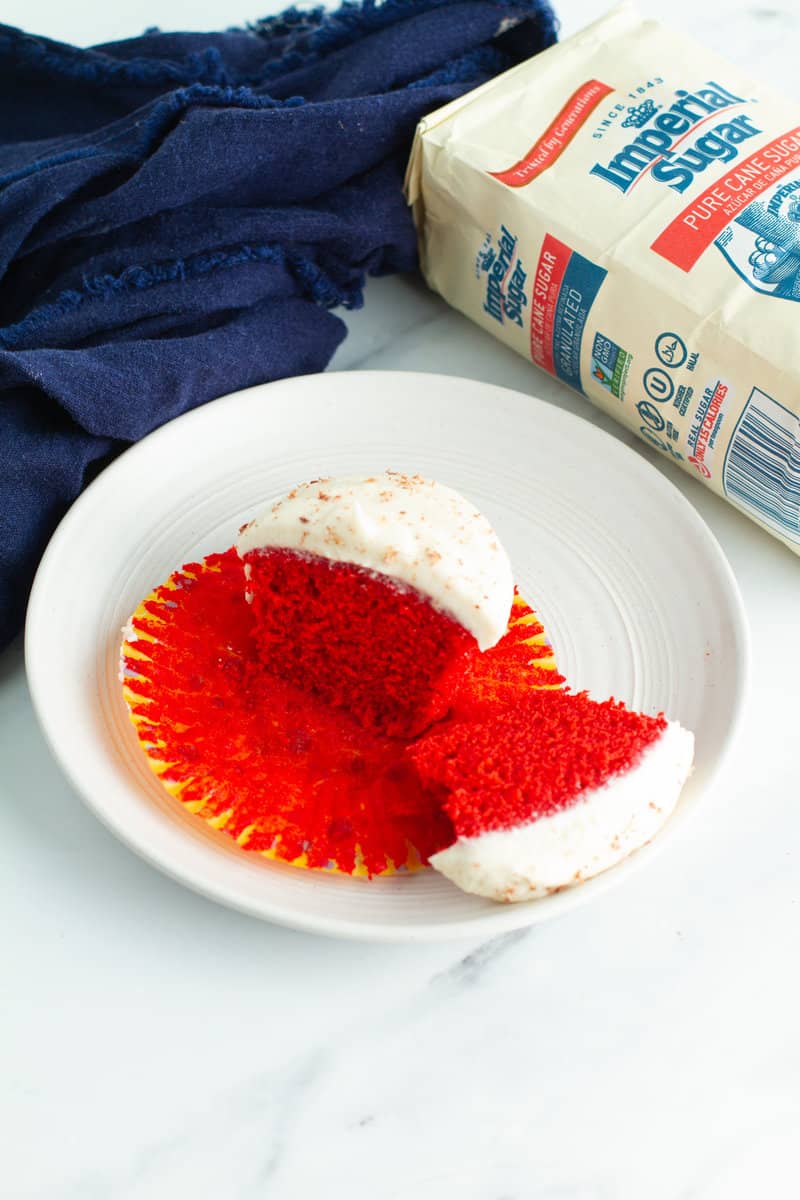
Key Ingredients
Here are the ingredients you'll need for some outstanding red velvet cupcakes.
Gluten-Free Flour
I had to do a deep dive before buying gluten-free flour because of all the horror stories of the unpalatable aftertaste, but I think I've narrowed it down to two options (check the pro recipe tips and tricks section).
Cocoa Powder
A little natural cocoa powder goes a long way in these cupcakes.
Red Food Coloring
Classic red food coloring is all you need.
Distilled White Vinegar
Good old fashion white vinegar is all you need.
Oil
I like to use coconut oil in my cupcakes because it produces a moist cake with great flavor.
Sugar
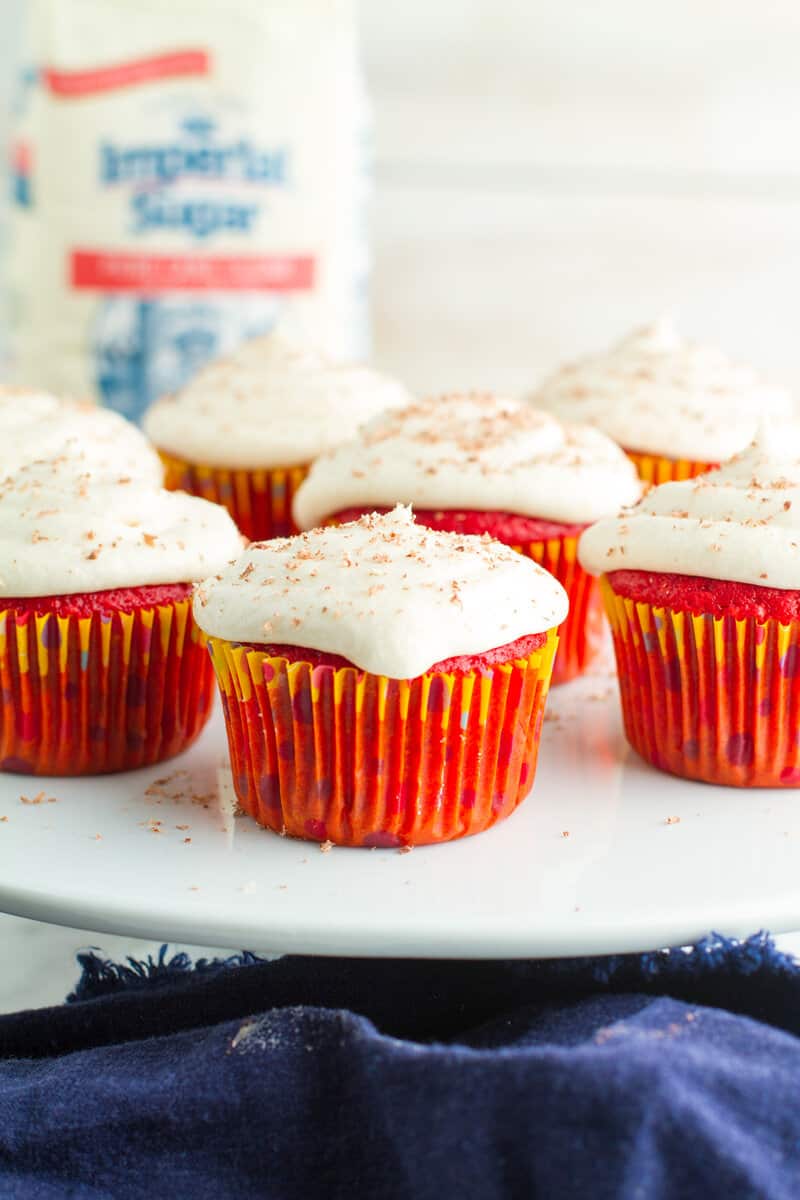
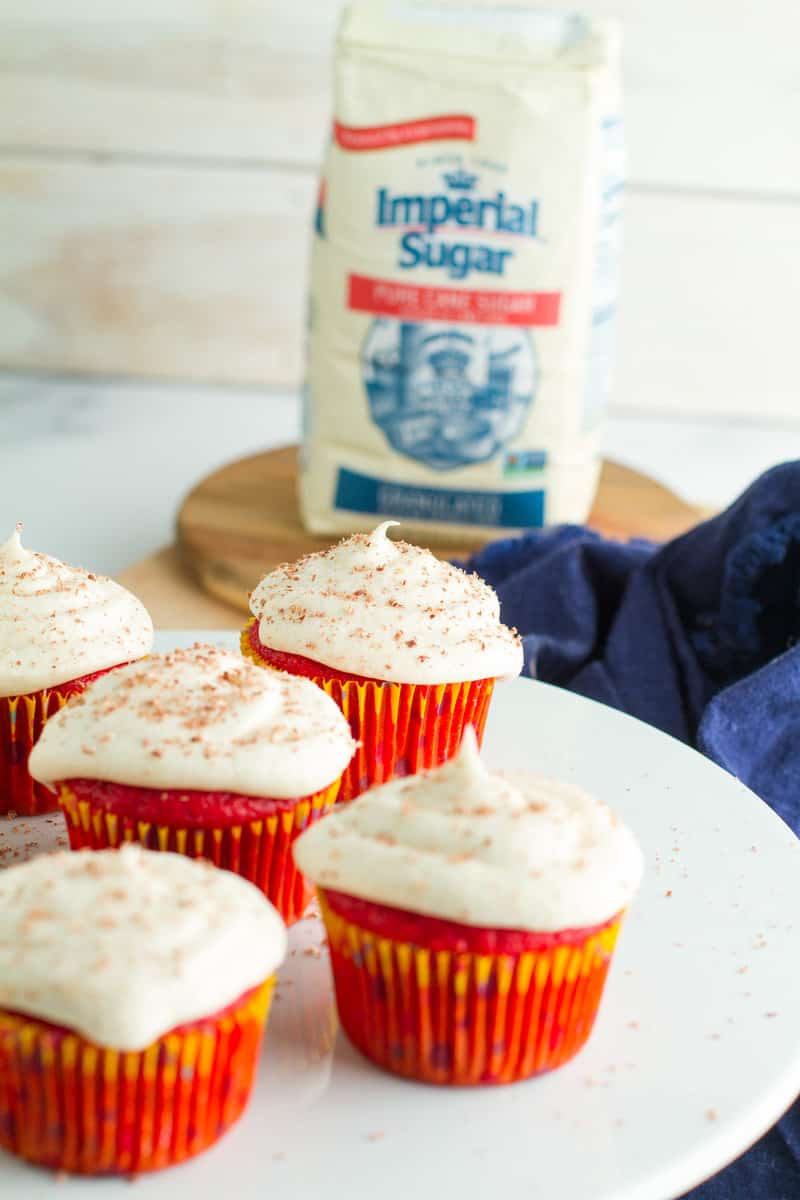
I love using Imperial Sugar whenever I need to bake. It's a quality non-gmo sugar that's been around for almost 200 years. In this recipe, we'll use granulated sugar in the cake and powdered sugar (confectioners sugar) for the icing.
Milk
Usually, I would use buttermilk in my red velvet anything, but I kept it simple and used evaporated milk.
Unsalted Butter
I like to control the salt in my recipes which is why I only cook and bake with unsalted butter.
How to make Red Velvet Cupcakes?
My goal was to create red velvet cupcakes that were effortless, delicious, and capable of delighting even the most sophisticated palettes (kids)!
Red Velvet Cupcakes
The first thing you want to do is preheat your oven to 350°F. Then place the paper liners in a 12-muffin tin.
Aerating the dry ingredients will produce a light and tender cupcake similar to if you had used cake flour. Over a large bowl, sift flour, cocoa powder, baking powder, and salt.
In another bowl, combine oil, milk, red food coloring, egg, white vinegar, and vanilla extract. Then pour the wet ingredients into the dry ingredients and mix with a hand blender on low speed for 45 seconds to 1 minute until the batter is smooth.
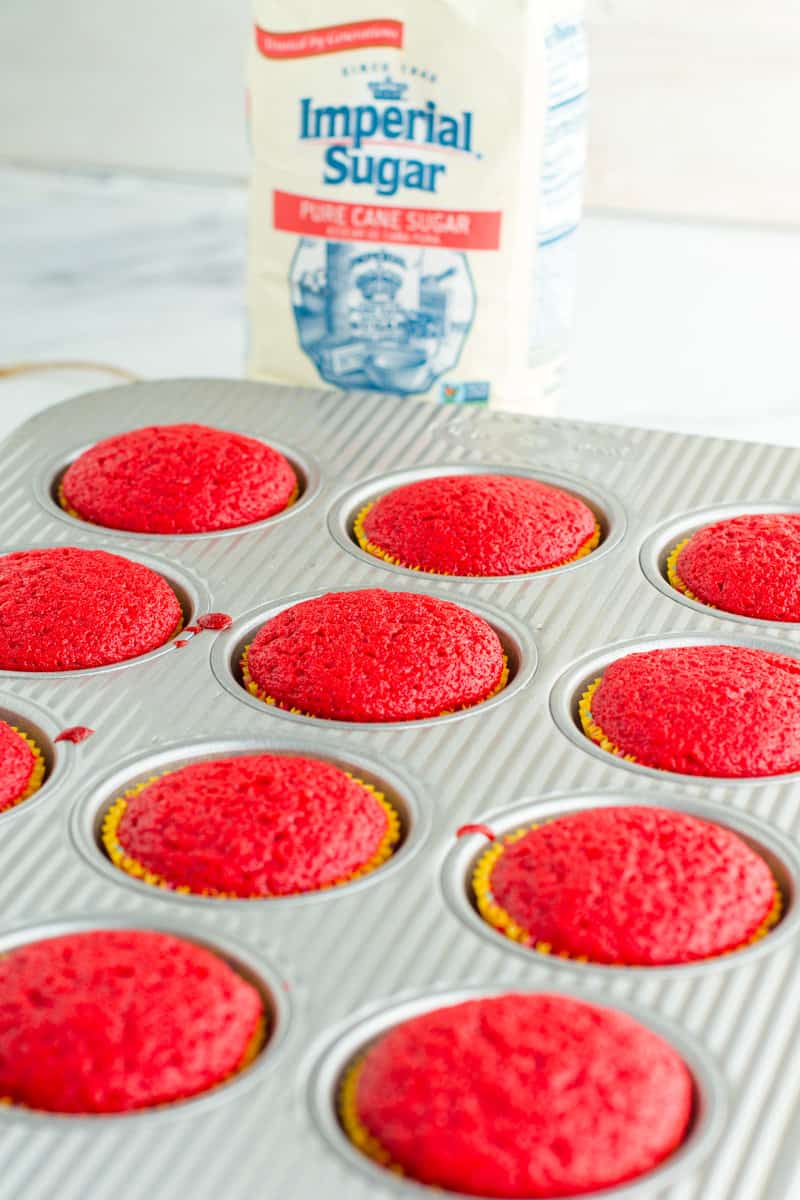
Fill the muffin tin ¾ the way with batter. Bake for 20 minutes until deep red or stick a toothpick in the center of one; if it comes out clean, they're done. Remove cupcakes from the muffin pan and cool completely before icing.
Vanilla Buttercream
While the red velvet cupcakes are baking, in a large bowl, beat butter, salt, and vanilla extract until light and fluffy with a hand mixer on low-medium speed for 1 minute. Alternate adding the powdered sugar and milk, finishing with powdered sugar, and mixing together until smooth.
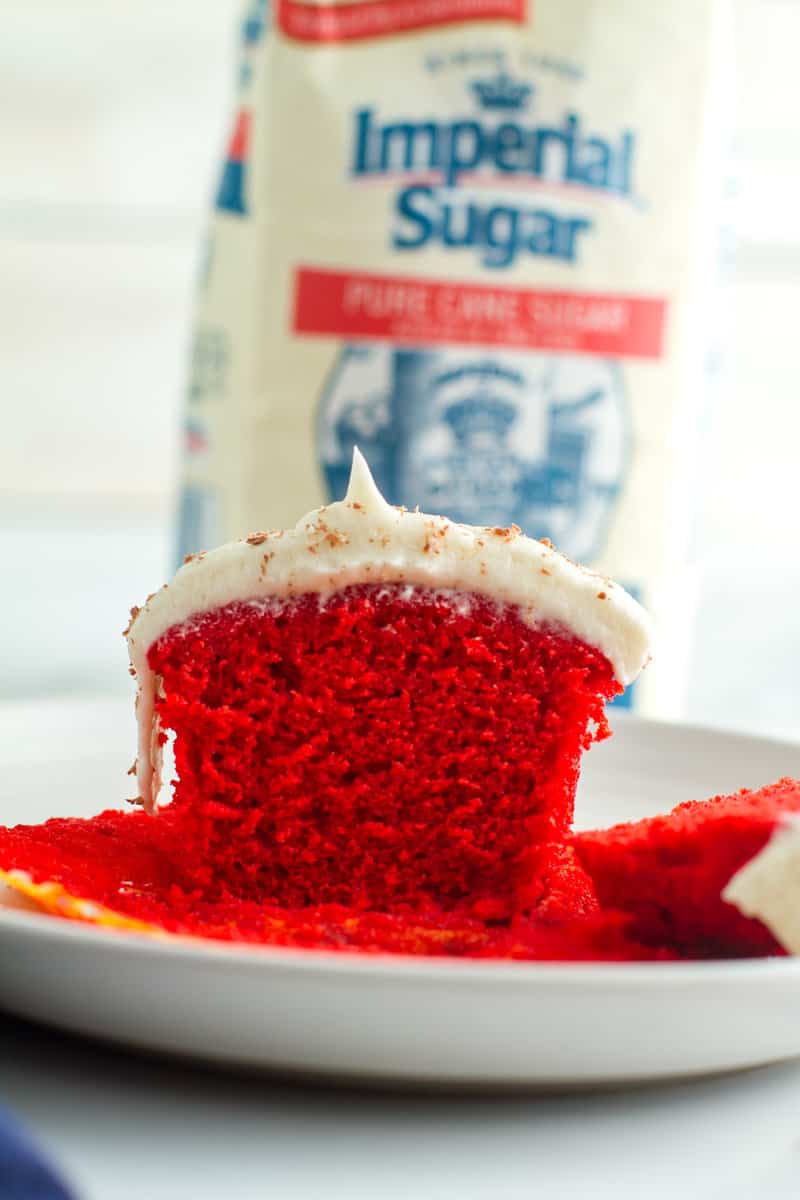
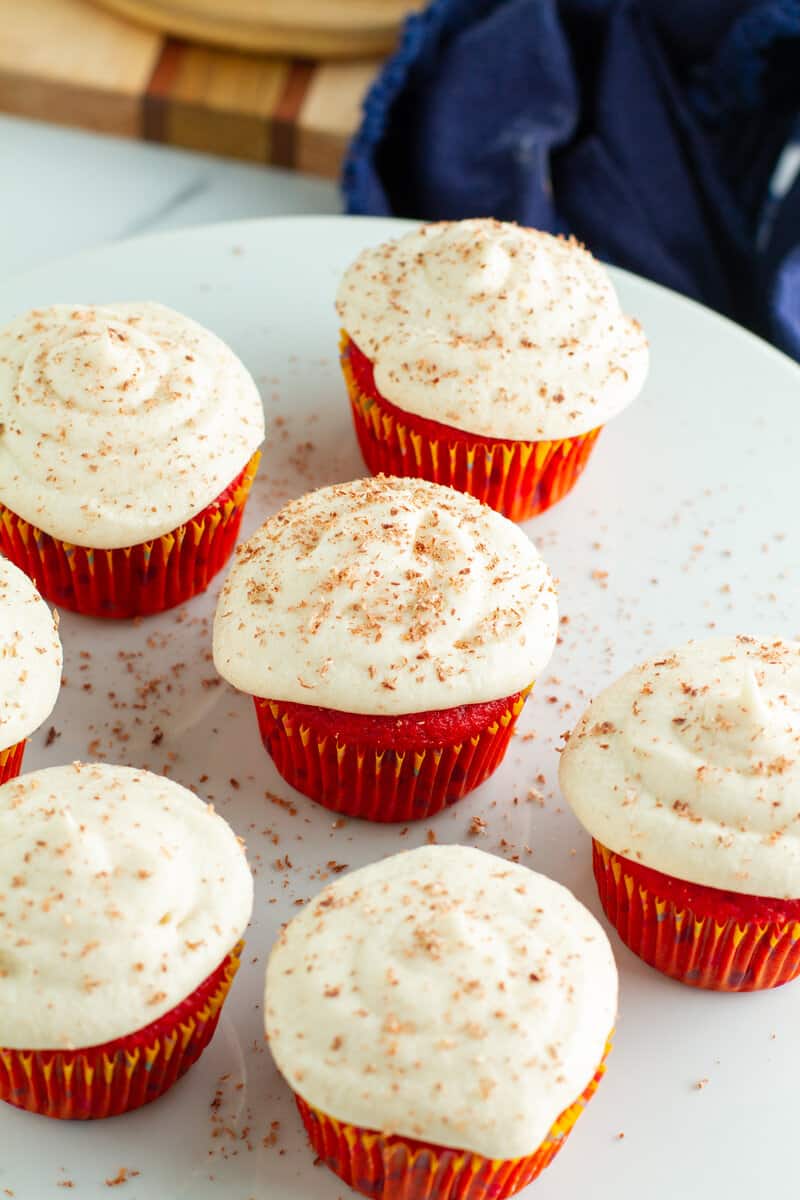
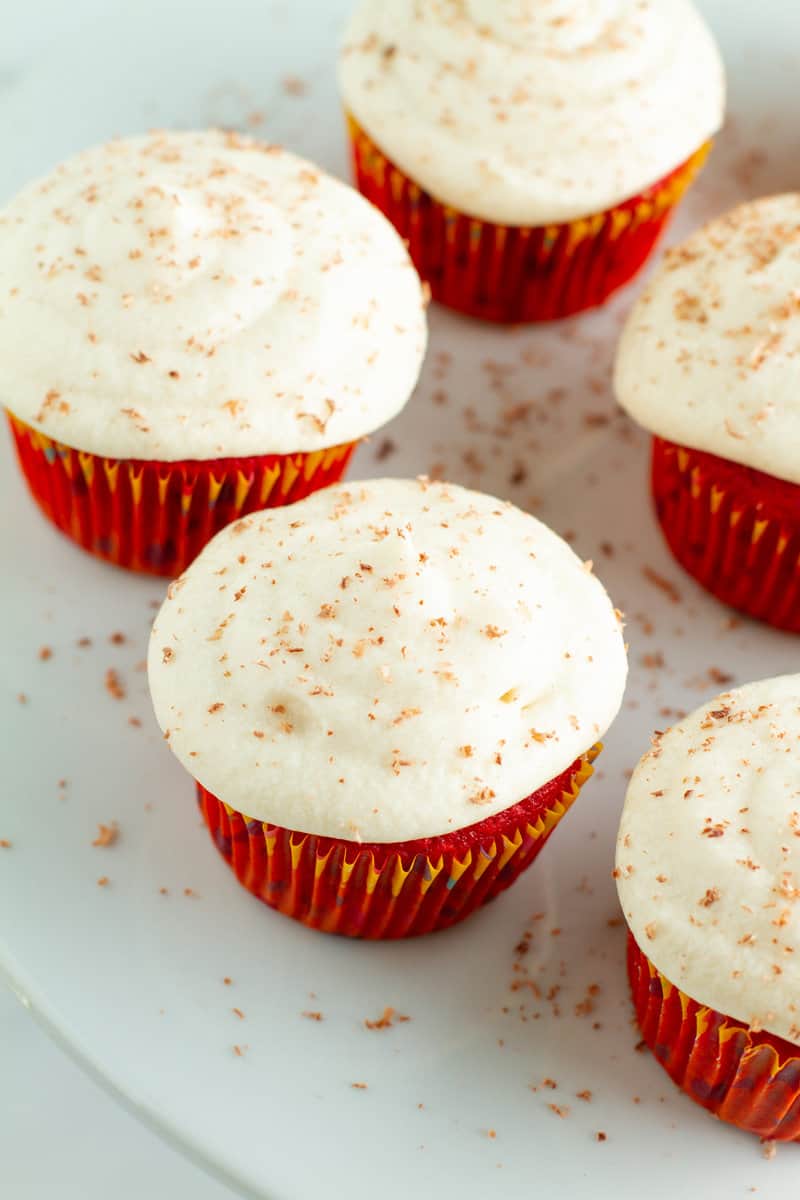
Ice cooled cupcakes with vanilla buttercream and garnish with shaved chocolate. Use a vegetable peeler to shave your chocolate.
Icing:
While the king cake cools, in a large bowl, whisk together powdered sugar, milk, vanilla, and salt until smooth, runny but thick; then pour evenly over the king cake.
Sprinkle the yellow sanding sugar in a cross shape on top, bottom, left, and right. Then repeat with the remaining colors. Enjoy immediately or cover with plastic wrap and keep in a cool place.
New Orleans Tip: Once you use a knife on a king cake, it remains with it until the cake is gone. Do NOT change knives unless it falls on the floor.
Whoever gets the baby has to provide the next king cake, so send them this blog link.
Pro Recipe Tips and Tricks
Here are the best practices, techniques, substitutes, and flavor builders you'll need for this delicious red velvet cupcake recipe.
- Feel free to substitute the gluten-free flour with all-purpose flour.
- I love to use dark cocoa powder for an extra chocolate flavor when I have it on hand.
- King Arthur and Bob's Red Mill one-to-one gf flour are my go-to gluten-free flour.
- You can use any neutral-tasting oil (canola, grapeseed, avocado, or vegetable) at home instead of coconut oil.
- You can use plant-based food coloring if you like but know that the final color won't be a bright red.
- Swap in buttermilk or any milk you have at home instead of evaporated milk.
- Try scraping the pods out of one vanilla bean to take your icing to the next level!
- You know it's room-temperature butter when you can leave a finger indention. It's too soft if you can press right through it.
- Use my cream cheese frosting recipe instead of the vanilla buttercream.
- Feel free to use a stand mixer with the paddle attachment if you whip up a double batch.
- Use a storage bag to pipe icing onto your cupcakes instead of using a piping bag.
- You can use a cheese grater to grate the chocolate as garnish.
FAQs
Here are the top questions readers have about red velvet cupcakes.
Red velvet cupcakes are not considered chocolate-flavored. They are traditionally made with cocoa powder resulting in a subtle chocolate flavor, but the overall taste of red velvet cupcakes is more vanilla than chocolate.
Red food coloring is made from red dye 40, an artificial color made from various ingredients depending on the source and brand.
Plant-based red food coloring is made from beet juice to give you a natural option. The final product will not be bright red, but you can have peace knowing you're consuming a natural ingredient.
The best way to guarantee moist cupcakes is to use oil instead of butter. By using oil, you ensure that the cupcakes won't dry out. Also, confirm that your oven temperature is accurate. You could be overbaking or underbaking and won't even know.
While gluten-free cupcakes can last up to two days in an airtight container on the counter, they will be at their best if eaten within 24 hours of baking. To ensure maximum flavor and enjoyment, make only as many cupcakes as you intend to consume for maximum freshness.
You don't have to use buttermilk to make red velvet cake; you only need to use any milk you have at home. My rule is if you enjoy drinking it, you should enjoy the flavor of your cake.
The key to getting a bright red color is to use the right amount of red food coloring. My rule is for every 1 - 2 ½ cups of flour to use 1 ounce of red food coloring. This has always helped me achieve that signature bright red velvet color.
Red velvet cupcakes are best eaten immediately but will remain fresh in an airtight container for 3 days on the counter or 7 days in the fridge.
Place cooled, unfrosted cupcakes in an airtight freezer container and freeze for 2 months. Individually wrapping each in plastic wrap will extend shelf life.
More Red Velvet Recipes
If you're crazy about red velvet like I am, then these recipes are sure to tantalize your taste buds!
- Red Velvet Pancakes
- Red Velvet Pound Cake with Spiked Egg Nog
- Red Velvet Biscuits with BBQ Brisket
- Red Velvet Crepes
Latest Recipe Video:

Before You Begin
Before getting started, here are the steps I use to get organized.
Step 1: Preheat oven to 350°F before pulling the ingredients out. Get all ingredients for the red velvet cupcakes.
Step 2: Measure everything into individual bowls.
Step 3: To ensure that nothing catches you off guard, place an oven thermometer in the center rack for 10 minutes once your desired temperature is reached. This will guarantee a precise oven temperature and maximum results!
Step 4: Start following the recipe and get ready for the best red velvet cupcake you've ever enjoyed.
Making gluten-free red velvet cupcakes has never been easier with this simple recipe. I hope you enjoy your delicious treat and that it brings a smile to the faces of all who eat them! And don't forget to leave a comment and star rating after trying my red velvet cupcakes recipe, as well as share it with your friends and family on social media so they can also experience these delicious cupcakes.
Click here to subscribe to MY NEWSLETTER for easy and free recipes right into your inbox!
To pin this recipe and save it for later, you can use the Pin button on the recipe card, the sharing buttons above or below this post, or any of the photos above.
Tag me @kennethtemple_ and use #LezEat on Instagram to share your remakes with me, and don't forget to leave a star rating and comment below.
📖 Recipe
Gluten Free Red Velvet Cupcakes
Ingredients
Red Velvet Cupcakes:
- 1 ½ cups gluten-free flour
- 1 tablespoon cocoa powder
- 1 ½ teaspoons baking powder
- ½ teaspoon kosher salt
- 1 cup Imperial Sugar granulated sugar
- ½ cup coconut oil
- ½ cup evaporated milk
- 1 oz. red food coloring
- 1 large egg
- 1 teaspoon distilled white vinegar
- 1 teaspoon vanilla extract
Vanilla Buttercream:
- 2 sticks unsalted butter softened
- 3 cups Imperial Sugar powdered sugar sifted
- ¼ teaspoon kosher salt
- 4 tablespoons evaporated milk
- 1 tablespoon vanilla extract
- 2 oz. dark chocolate bar optional
Instructions
Red Velvet Cupcakes:
- Preheat oven to 350°F. Line a 12 muffin cups with paper liner. Over a large bowl sift flour, cocoa powder, baking powder, and salt. Add oil, milk, red dye, egg, white vinegar and vanilla extract. Mix with a hand blender on low speed for 45 seconds to 1 minute until batter is smooth.
- Fill muffin cups ¾ the way with batter. Bake for 20 minutes until deep red. If you’re not sure stick a toothpick in the center of one; if it comes out clean they’re done. Remove from muffin pan and cool before icing.
Vanilla Buttercream:
- While cupcakes are baking, in a large bowl beat butter until light and fluffy with a hand mixer on low-medium speed for 1 minute. Add powdered sugar, salt, milk and vanilla extract together until smooth. Ice cooled cupcakes with vanilla icing and garnish with shaved chocolate. Cupcakes will be best 3 days prior to baking.
Notes
- Feel free to substitute the gluten-free flour with all-purpose flour.
- I love to use dark cocoa powder for an extra chocolate flavor when I have it on hand. King Arthur and Bob's Red Mill one-to-one gf flour are my go-to gluten-free flour.
- You can use any neutral-tasting oil (canola, grapeseed, avocado, or vegetable) at home instead of coconut oil.
- You can use plant-based food coloring if you like but know that the final color won't be a bright red.
- Swap in buttermilk or any milk you have at home instead of evaporated milk.
- Try scraping the pods out of one vanilla bean to take your icing to the next level!
- You know it's room-temperature butter when you can leave a finger indention. It's too soft if you can press right through it.
- Use my cream cheese frosting recipe instead of the vanilla buttercream.
- Feel free to use a stand mixer with the paddle attachment if you whip up a double batch.
- Use a storage bag to pipe icing onto your cupcakes instead of using a piping bag. You can use a cheese grater to grate the chocolate as garnish.


Leave a Reply